
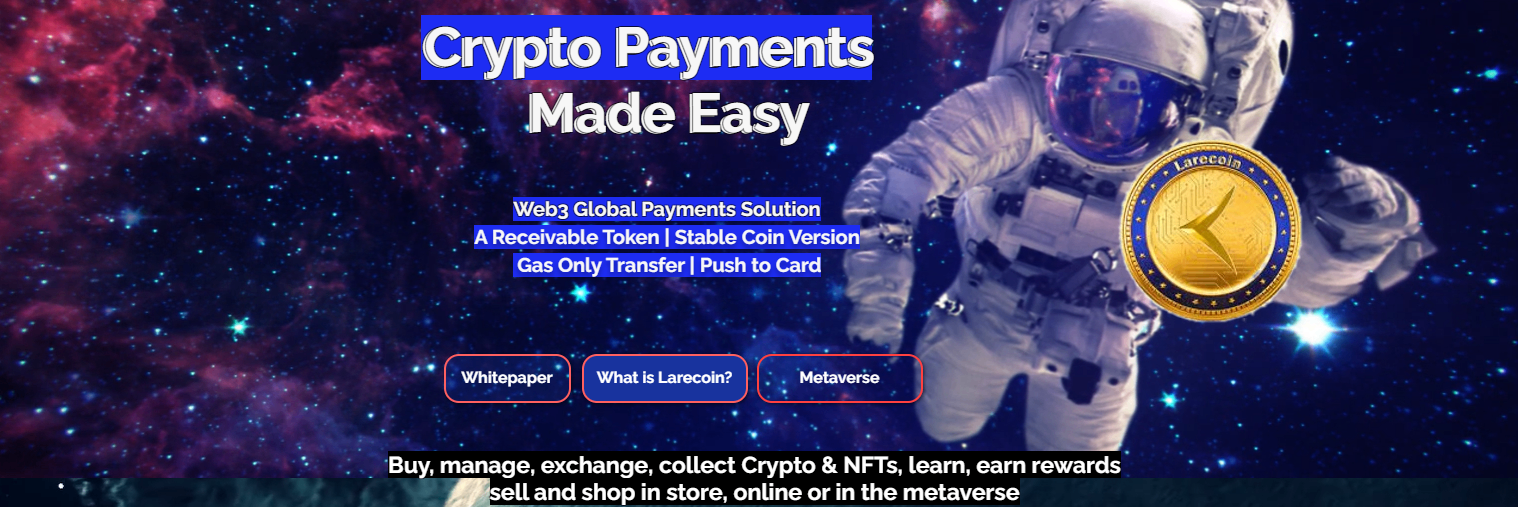
Your Quick-Start Guide to Self-Custody Crypto Payments: Do This First Before Anything Else
- [[[Free!!]<<<<]] Watch: 스포르팅 - 토트넘 Live Stream 13 September 2022
- Jan 25
- 5 min read
![Writer: [[[Free!!]<<<<]] Watch: 스포르팅 - 토트넘 Live Stream 13 September 2022](https://lh3.googleusercontent.com/a/AItbvmktwQc0wCdd3ZEETSYItRQubwwBzOyjD_dcigRf=s96-c)
Self-custody isn't optional anymore. It's essential.
If you're a merchant accepting crypto payments: or planning to: this is where your journey begins. Not with payment processors. Not with third-party platforms holding your funds. With you controlling your own keys.
This guide breaks down exactly what to do first. Before you accept a single transaction. Before you integrate anything. Before you hand over control to platforms like NOWPayments or CoinPayments.
Let's get you set up the right way.
Why Self-Custody Matters for Merchants
Here's the reality. Traditional crypto payment processors hold your funds. They control your money. They set withdrawal limits. They charge fees on top of fees.
Self-custody flips that script.
You hold your keys. You control your funds. You decide when and how to move your crypto.
No waiting for withdrawals. No custody risk. No middlemen taking a cut of every transaction.
For merchants, this means:
Instant access to your revenue
Lower processing fees
Complete financial independence
Protection from platform freezes or shutdowns
Sound good? Here's how to make it happen.
Step 1: Choose Your Wallet Type First
This is the foundation. Get it right.
Your wallet type determines your security level, convenience, and how you'll handle daily transactions. Three main options:
Hardware Wallets
Best for: Long-term storage, high-value holdings
Examples: Trezor, Ledger, Coldcard
Pros:
Maximum security
Offline key storage
Protection from online threats
Cons:
Less convenient for daily transactions
Initial cost ($50-$200)
Software Wallets (Desktop/Mobile)
Best for: Everyday payments, merchant transactions
Examples: Phoenix, BlueWallet, MetaMask
Pros:
Free to use
Quick transactions
Easy integration with payment systems
Cons:
Connected to internet (hot wallet risk)
Device-dependent
Multi-Signature Wallets
Best for: Business accounts, shared treasury management
Pros:
Requires multiple approvals
Enhanced security for teams
Ideal for merchant operations
Pro tip: Most merchants need both. Hardware wallet for treasury. Software wallet for daily operations.
Step 2: Set Up Your Self-Custody Wallet
Time to execute. Here's the exact process:
1. Download from official sources only. Visit the manufacturer's website directly. Never download from third-party app stores or random links. Verify developer signatures when possible.
2. Initialize your wallet. Follow the setup wizard. This generates your unique private keys: the cryptographic proof that you own your funds.
3. Generate your wallet addresses. Your wallet creates receiving addresses for each cryptocurrency you want to accept. These are public. Share them freely.
4. Document everything. Record which wallet you're using, what cryptocurrencies it supports, and where your backup is stored.
This entire process takes 30-60 minutes. Worth every second.
Step 3: Backup Your Recovery Phrase Immediately
This is non-negotiable. Skip this step and you risk losing everything.
Your recovery phrase (seed words) is your ultimate backup. Usually 12 or 24 words. Write them down. On paper. Not digitally.
Storage rules:
Keep multiple copies in separate secure locations
Never store digitally (no photos, no cloud storage, no notes apps)
Consider fireproof/waterproof storage
Don't share with anyone
Test your backup before funding. Delete the wallet. Restore it using your seed words. Confirm it works. Then: and only then: transfer real funds.
This isn't paranoia. It's basic crypto security. Platforms like NOWPayments and CoinPayments hold your funds for you. Convenient? Maybe. But you're trusting them with your business revenue. Self-custody eliminates that trust requirement entirely.
Step 4: Test With Small Amounts First
Never go live with untested infrastructure.
The testing protocol:
Send a minimal amount to your new wallet address
Wait for blockchain confirmation
Send it back to yourself or another address you control
Verify the transaction completed successfully
Check your backup restoration one more time
Only after successful testing should you transfer substantial funds or start accepting customer payments.

How Larecoin Makes Self-Custody Payments Actually Work
Here's where traditional self-custody gets complicated for merchants. You've got your wallet. Now what?
Most merchants end up back with custodial processors because accepting payments directly feels too technical. CoinPayments charges fees. NOWPayments takes a cut. You're paying for "convenience" that undermines the whole point of crypto.
Larecoin solves this.
The Larecoin ecosystem is built specifically for self-custody merchants. No intermediaries holding your funds. Direct wallet-to-wallet transactions. True decentralized payments.
Key features for self-custody merchants:
Gas-Only Transfers Pay only network fees. No platform fees. No percentage cuts. Your revenue stays yours.
LUSD Stablecoin Integration Volatility concerns? LUSD gives you price stability while maintaining self-custody. Accept crypto. Hold stable value. No conversion to fiat required.
NFT Receipts Every transaction generates a verifiable NFT receipt. Immutable proof of payment on-chain. Perfect for accounting. Perfect for disputes. Perfect for compliance.
Push-to-Card Services Need fiat access? Push directly to your card without surrendering custody of your broader crypto holdings.
Larecoin vs. NOWPayments vs. CoinPayments: The Self-Custody Difference
Let's compare directly.
Feature | Larecoin | NOWPayments | CoinPayments |
Self-custody | ✅ Full | ❌ Custodial | ❌ Custodial |
Platform fees | Gas only | 0.5-1% | 0.5% |
Withdrawal delays | None | Up to 24hrs | Up to 24hrs |
NFT receipts | ✅ Built-in | ❌ No | ❌ No |
LUSD stablecoin | ✅ Native | ❌ No | ❌ No |
Merchant control | Complete | Limited | Limited |
The math is simple. Processing $100,000/year in crypto payments? NOWPayments and CoinPayments take $500-$1,000 in fees. Larecoin? Just gas costs.
That's money back in your pocket. Every single transaction.

Setting Up Larecoin for Self-Custody Payments
Ready to integrate? Here's your next steps:
1. Connect your self-custody wallet Link your existing wallet to the Larecoin merchant dashboard. Your keys never leave your device.
2. Generate payment links Create shareable payment requests for customers. They pay directly to your wallet address.
3. Enable NFT receipts Turn on automatic NFT receipt generation for every transaction. Instant, immutable proof.
4. Configure LUSD settings Choose to receive payments in LUSD for stability, or accept any supported cryptocurrency.
5. Go live Start accepting payments. Watch funds arrive directly in your wallet. No delays. No holds. No platform risk.
Visit larecoin.com to explore the full merchant toolkit.
Common Self-Custody Mistakes to Avoid
Mistake #1: Using exchange wallets Exchange wallets aren't self-custody. Coinbase, Binance, Kraken: they hold your keys. Not you.
Mistake #2: Single point of failure One backup copy isn't enough. Hardware fails. Houses flood. Diversify your backup storage.
Mistake #3: Sharing wallet screenshots Never post images of your wallet, balances, or addresses publicly. You're painting a target.
Mistake #4: Ignoring network fees Different blockchains have different costs. Solana and Larecoin's infrastructure minimize these. Ethereum can get expensive during congestion.
Mistake #5: Going back to custodial "convenience" The whole point is independence. Don't surrender it because setup takes an afternoon.
Your Action Plan
Here's what to do right now:
Choose your wallet type (hardware + software combo recommended)
Download from official sources
Generate and backup your recovery phrase
Test with small amounts
Explore Larecoin's merchant tools at larecoin.com
Start accepting self-custody payments
The crypto payments space is evolving. Custodial platforms had their moment. Self-custody is the future.
Merchants who embrace it now gain the competitive advantage. Lower fees. Faster access. Complete control.

Your keys. Your crypto. Your business.
That's the Larecoin way.
Comments